I went a little overboard on the S'mores Charcuterie... couldn't help myself. Hannah and I checked all the items to make sure they were Halal approved. The marshmallows, a few of the cookies and the Turkish Delight came from our local Halal grocer. Fun fact, most Hersey products are Halal and vegan, so it's a vegan tray too. I had no idea!
Crafts, DIY, art projects and more... formally Savory Stamping http://savorystamping.blogspot.ca/
Showing posts with label DIY. Show all posts
Friday, 20 August 2021
Camping Sleep Over & S'Mores
Hannah is so excited to finally have a sleep over again, now that her group has all had both rounds of shots. They are camping out in the trailer for the evening and watching some outdoor movies. Each friend brought a treat for the evening festivities and a contribution to the parfait breakfast bar.
Sunday, 20 June 2021
Patio Pergola
Now that the bar is installed, we decided to go with a two tone colour stain on the Pergola from Lowes - Olympic Maximum stain in Ebony and Cedar Natural Tone. I love it!
We repurposed the 2x6's from the carport formally on this spot and made this outdoor sectional
Thanks Sean for helping me stain all morning!
I think the black helps define the area more instead of blending into the fence. We have two shade screens since me and the babies are so freaking pale
![]() |
Here is the before when it was a carport and Sean's hard work
A contractor put in the cement slab, fence and posts
Not bad for an IT guy.
Our pallet coffee table LOL. I was so over the moon when Sean bought me the fire-table for Mothers Day 2020. Really improved all our staycations
Corrugated roof going in
The finished product before staining
Thursday, 1 February 2018
Cool LIght
I found a cool metal light shade for the Boys new room, but had to come up with a cheaper solution. Design inspiration below.
I found similar direction from Vintagerevivals.
I glued pieces of 1x1 spare lumber to make a 11.5" cube.
The hubby helped me staple the end together while the glue dried. We didn't have clamps that were long enough. Once the glue was dried, I filled the holes and imperfections, sanded then painted it with black acrylic paint.
We had the IKEA pendant light left over from when this was Boo's room. We have since switched out the boring lightbulb for a cool retro Edison style light bulb: see above with the installed shade images
Other than the light bulb, this project was free. I used all spare lumber and we already had the pendant.
Monday, 25 December 2017
Super Hero Christmas - click image to read more
Here we have the finished shelf configuration
The hubby and I weren't supposed to be buying "big gifts" for each other this year because of the basement reno and our new sectional, so I HAD TO GET CREATIVE.
These images are before we finished all the shelves. Sticking with the Super Hero theme (predominately Spiderman), I made some themed decor items for the basement. I wanted to have some items that are't immediately obvious that they are Spiderman, here's my brainstorm:
Camera pillow - Spiderman was a newspaper photographer.Camera blueprint image, I bought this for $3.00 on Etsy and used a Dollar store frame. I purchased the fan clock from Homesense, it was the kids gift to Daddy. I love the look of the industrial or old fashioned rotary fan turned into a clock.
Power quote print - quote from Spiderman's Uncle Ben (originally Voltaire). I made it in Photoshop, I did "case" it however, it was someone elses idea I saw online.
The microscope, my most favorite find. Since I work in a High School, I asked the Head of the Science Department if she had any broken microscopes she would be willing to sell. To buy them on Etsy, you are looking at $40 -$60 for just the shipping. Luckily she did, so I bought one for $20 and no shipping.
The "S" was already featured in a previous post, I think with my 40% off coupon the canvas and silver paint was under $10.00.
Sean was kind enough to pick up some IKEA fake plants when he was there to purchase Boo's new Queen bed. We already had the pots from the Baby Shower lighthouses from last year. The "I love you more than bacon" was a Christmas present from the kids to my hubby from quite a few years back.
This DNA blueprint image is available through Etsy for $11.00-$12.00. However, I found the DNA vector on line for free. It's a free downloadable colouring page for Science class. I downloaded the image and in Photoshop transferred it onto a free vintage paper background. Again used a Dollarstore frame.
Camera Pilow - Click on image for more details
The image was a google search "camera clip art"
Decor on the cheap. I had this fabric gifted to me from my mother in law, I think it was from a "shy baby" kit. The pillow form I stole from my bedroom pillows, which to tell the truth are always stuffed in the closet except once and a while when I have company. LOL
I created this Camera pillowcase cover using the Liquid Medium and Acrylic paint technique found in this previous post of mine.
Decor on the cheap. I had this fabric gifted to me from my mother in law, I think it was from a "shy baby" kit. The pillow form I stole from my bedroom pillows, which to tell the truth are always stuffed in the closet except once and a while when I have company. LOL
I created this Camera pillowcase cover using the Liquid Medium and Acrylic paint technique found in this previous post of mine.
Originally I was going to try making a DIY fabric transfer using wax paper. You have to flip the image for this technique. Needless to say it did't work, because I only had parchment paper. So I decided, what the hey, I'll just paint it. Not until I was half way done painting did it occur to me that I forgot to undo the image flip, so anyone familiar with camera's will catch that this camera is backwards... oops. LOL
I used equal parts acrylic paint with transparent liquid medium.
I cut out the regular photocopy or printed image with a craft knife and traced onto the fabric. I just used a regular sheet of 8.5 x 11 printer paper.
I left a bit of the focus lens mount dial and the glass lens attached to the body of the camera so that I didn't lose the placement in the image then connected the lines in the drawn image. I pinned my fabric to a sheet of wax paper so that the paint wouldn't soak through to my work surface.
I painted the pencil image using medium/acrylic mix. Then let dry.
The fine lines I did with one of Boo's fabric markers. I am not sure how well the the markers will wash. I imagine you could also use a Sharpie marker. Once dry, I went over all of it with an iron set to medium.
Envelope pillow case cover tutorial found here @ Instructables.com
DIY fabric paint tutorial here @ Instructables.com
Saturday, 16 December 2017
Quickie Joy - click image for more
I did this project a few weeks ago, but didn't get around to posting it. I purchased the the letters and snowflake wood cutouts from Michael's.
I painted them with Acrylic craft paint,and free hand painted the polka dots.
I didn't have to do anything to the snowflake, it was already shabby chic'd.
I painted them with Acrylic craft paint,and free hand painted the polka dots.
I didn't have to do anything to the snowflake, it was already shabby chic'd.
I glued clothes pins to the back sides and attached them to the chicken wire on the old window frame that adorns my fence during the nicer weather.
Merry Ho Ho Everyone!
The window frame is mounted to the brick using a brick clip from Canadian Tire.
Wednesday, 13 December 2017
Basement Before and After - Click on Image to see more
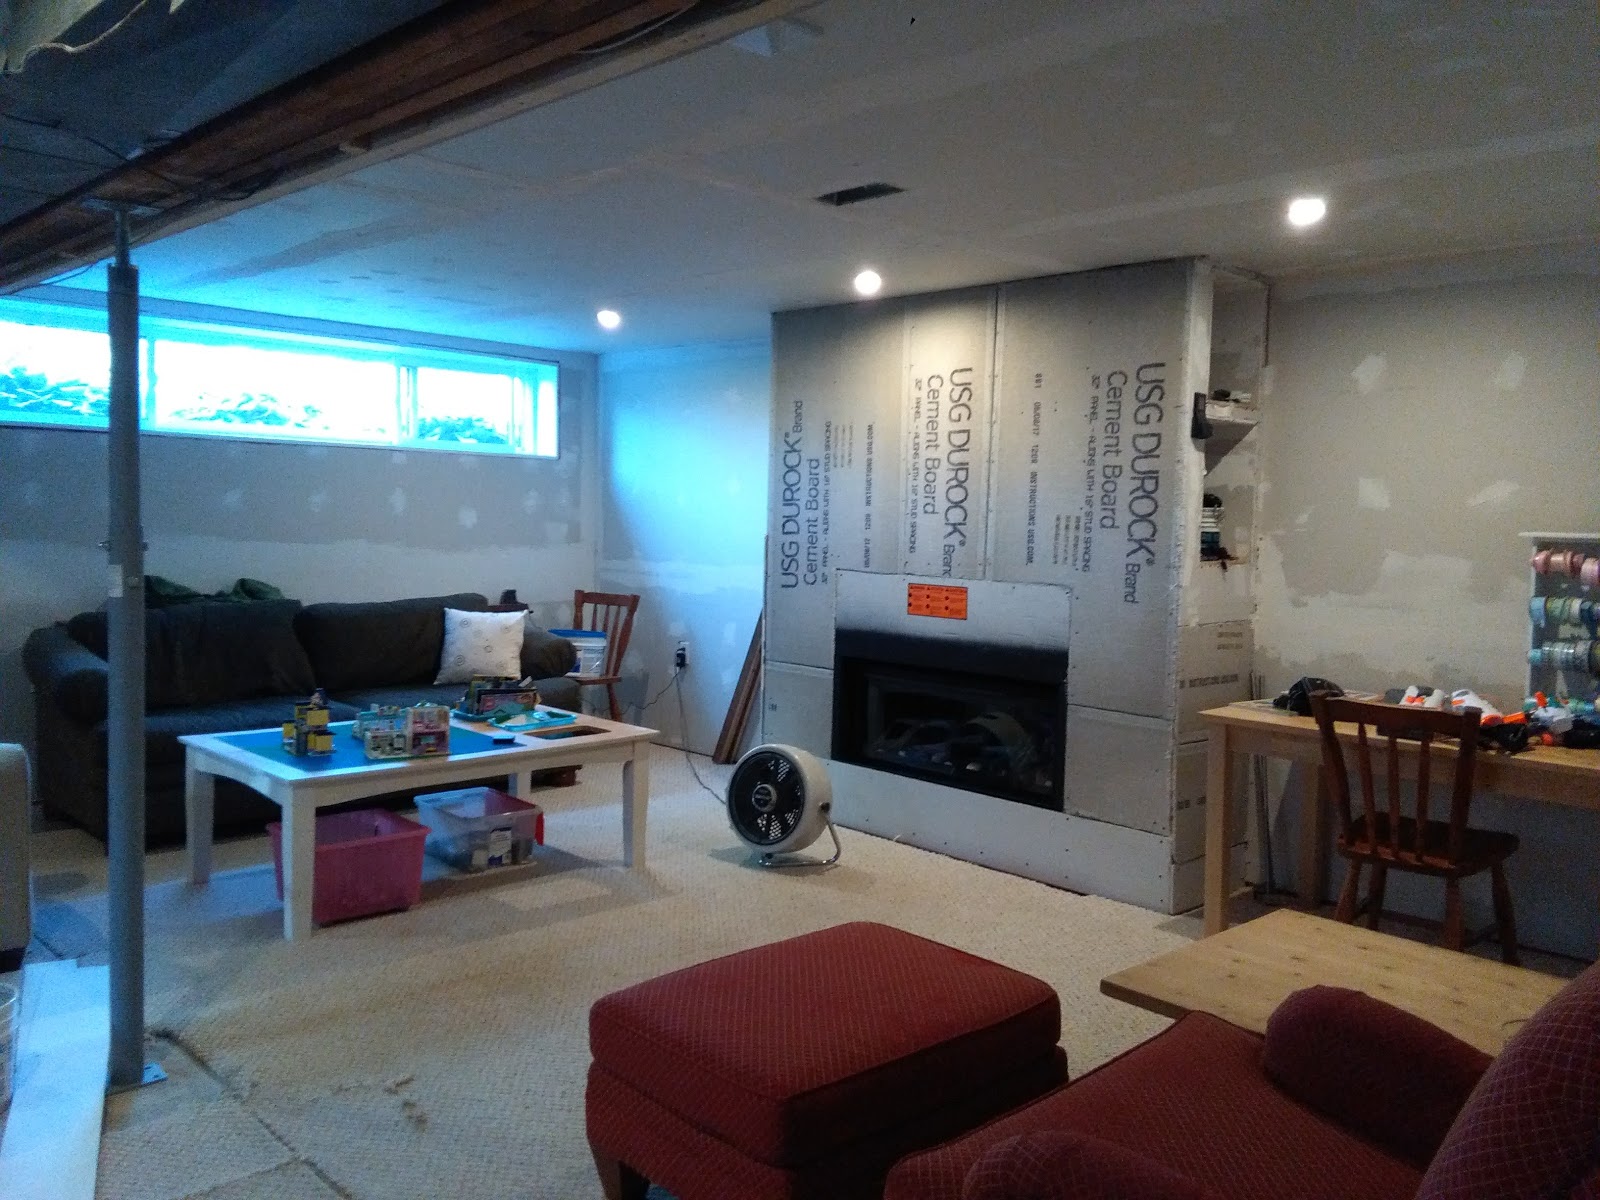
Okay okay, so our basement renovation has been a long time coming, it's why we bought the house 10 years ago.
Fall 2016 (Before)
During...
Fall 2016 (Before)
During...
During... (hurray, bye-bye cinder block support)
After (X-Mas 2017)
The hubby has to finish the bricking the fireplace sides paint the beam and the floor. We have some shelving projects planned for the New Year. Soooo close to being done. Hubby done good!Monday, 11 December 2017
Faux Metalic Letter - Click image to read whole post
What's a girl to do? Maker her own!
I bought a canvas letter form from Michael's using my 40% off coupon and bought a bottle of silver craft paint. Everything else I already had on hand.
- Craft alphabet letter form
- Silver craft paint
- Burnt umber craft paint
- Pearl stickers (metal push brads would work too)
- Craft glue (I used Ranger Glossy Accents)
Subscribe to:
Posts (Atom)