Showing posts with label HALLOWEEN. Show all posts

Sunday, 9 September 2018

Boo's Birthday Spooktacular

Due to upcoming renovations we decided to have Boo's 13th birthday party early this year.  Apparently the 2nd grade Halloween party we thew, is a prominent memory for her girlfriends.  So we promised after last years birthday that Boo could have another Halloween party for this year.
Day of the Dead - Sugar Skull
A Zoo Keeper riding an Ostrich
Halloween Twister
  

We had 3 cats, 1 Zombie soccer player, Harry Potter, a deviled egg, 1 Hippie and Day of the Dead Boo.  Most of my Halloween decorating will be curtailed due to construction, so it was a great excuse to haul it all out for the party.  
We set up a beverage station in the new Kitchenette.  Check out the floating eyeballs in the punch jug.  I wasn't willing to sacrifice my new couch and area rugs so all clear beverages.  Learned my lesson from last year and also NO CAFFEINE.  
Inspired by my sister Jen, we also used the Kitchenette as a mock photo-booth or photo room.  Using their own cell phones, they played with Halloween themed frames and props to take loads of photos and selfies.
Here come the fun food - thank you Pinterest: (apple faces not pictured)
Donuts with Vampire Fangs
Lychee berry eyeballs on sword skewers
Puking pumpkin Hummus dip - Boo carved this bad boy!
Mummy Dogs
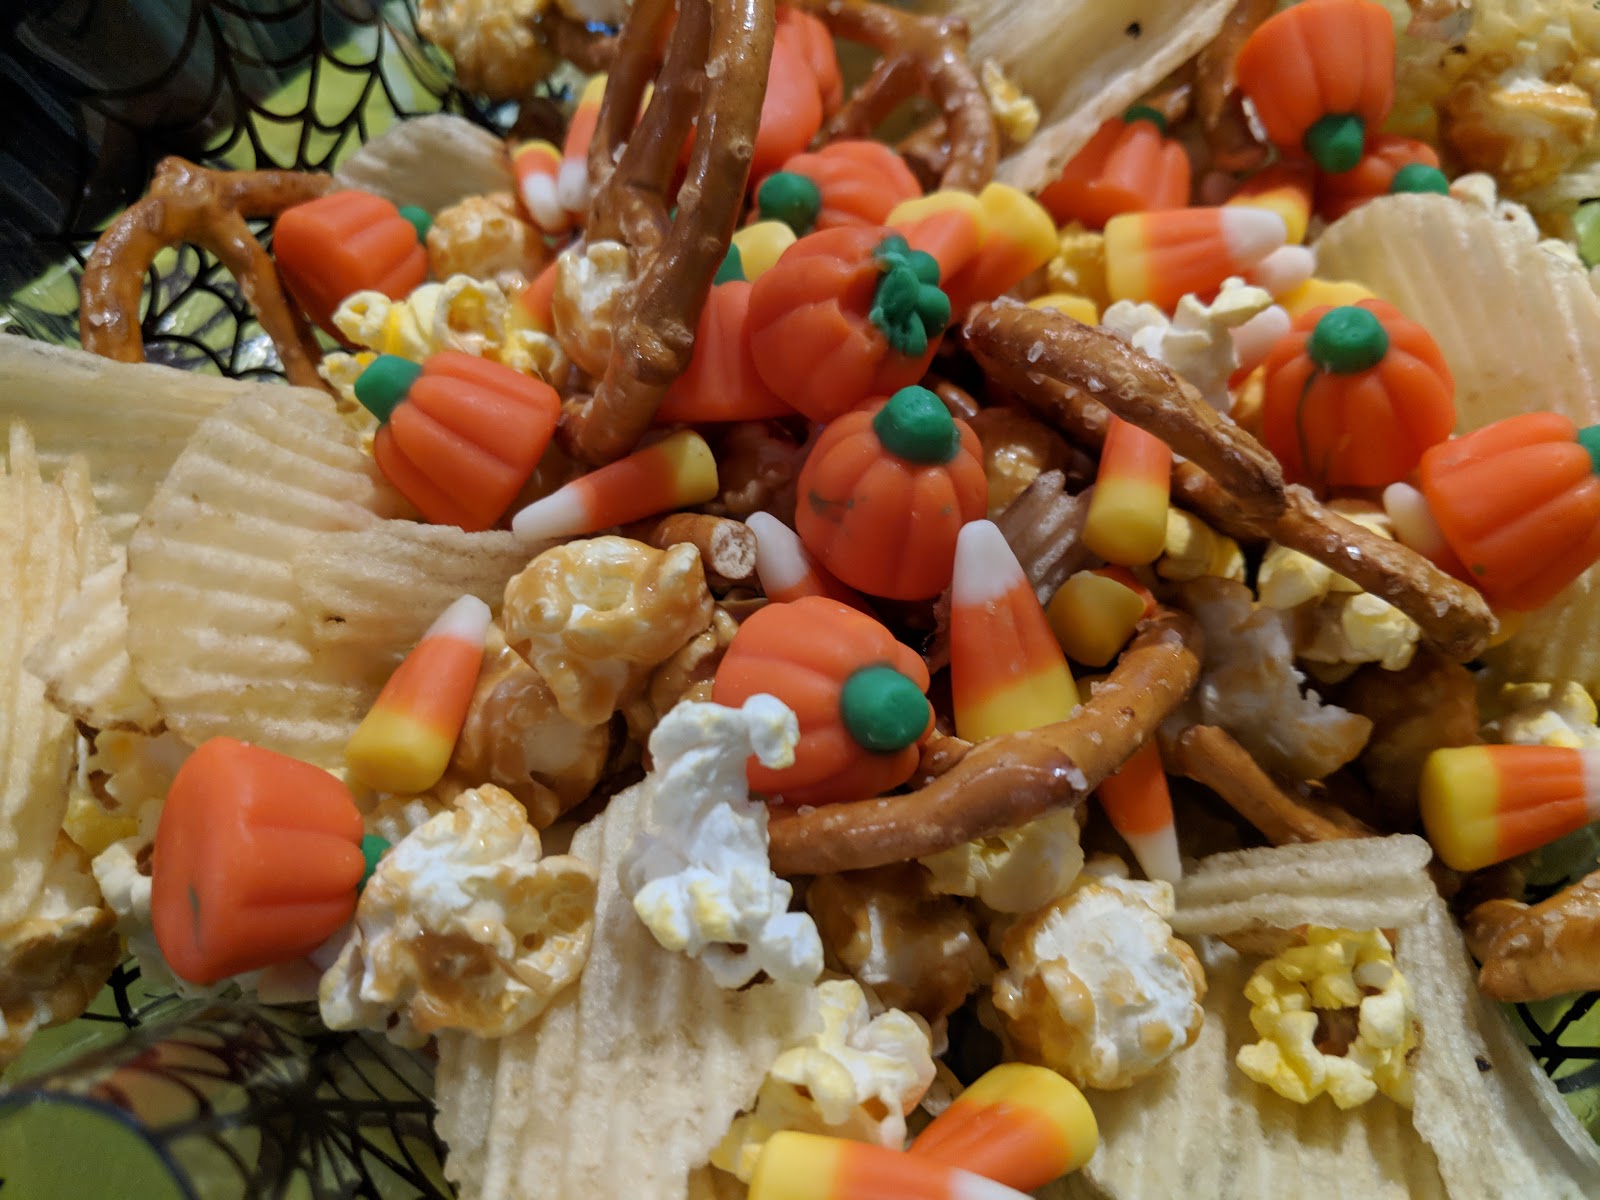
Party Mix - nothing cheesy to stain my coach with
Chocolate Spider Trifle - *sigh the chocolate syrup ran
We had a costume contest, Halloween Twister, Freeze Dance, a photo booth contest, Karaoke and believe it or not ALL of the girls begged to play Musical Chairs (throw back to Gr. 2), so we improvised and did Musical Pillows.  Very scary movies were out since we had some scaredy pants present.  Warm Bodies and Coraline scared the $%&@ out of them LOL.
Musical Pillows
Karaoke was CRAZY!  I was crying from laughing so hard.  We had to call Karaoke quits around 1:30 a.m. when it got a bit too loud and screamy.  I think most of the guest went home without their voices. 
Click here to see Karaoke JoJo Siwa "Boomerang" 

Thursday, 27 October 2016

Halloween Bliss

My sister was asking about my Halloween decorations while at the baby shower.  She thought all my Fall things were Halloween.  This post is for her.

I almost didn't get my Halloween stuff out this year due to the shower.  I was over decorating, but I CAN'T miss Halloween.  Here's what I rushed out on Tuesday.

Console Table
 Console close up
 Wall shelf
Wall shelf close up
Fireplace
Side table
Side shelf

Witch wreath

Sunday, 18 October 2015

Halloween - Haunted Signage

Using the second of the two sign plaques that my Mother In Law gave me, I painted and sanded it to shabby chic perfection.  I used Halloween rub-on's that are so old, I can't even remember WHEN I bought them on spider web paper scraps from my stash.  I paper stained the edges with Tim Holtz "Old Paper".


The balsam wood "Haunted" is from Michael's, I cut off the House portion from the bottom, painted it black and covered in black Stickles.  

Check out the The "Canicula Embalming Fluid" bottle.  It's REAL.  I know I have shown this bottle before on my previous blog, but it's just so cool.


CANICULA
CONCENTRATED
EMBALMING FLUID

100% PURE CHEMICALS

PERFECT COSMETIC EFFECT
COMBINED WITH UNSURPASSED
PRESERVATIVE, ANTISEPTIC
AND
DEODORIZING  QUALITIES

DIRECTIONS

For ordinary cases use 4 oz to 6 oz
to the half-gallon for first injection.
Use 6 oz to 8 oz to the half-gallon
for second injection.

For extreme cases - after first
injection - use full strength (16 oz to
the half-gallon).  For cavity injection
use concentrated form.

Price $5.00

CANICULA
CHEMICALS CO.
TORONTO, CANADA

Saturday, 17 October 2015

Dollar Store Feather Boa Wreath

$13.00 Halloween Wreath Tutorial

Everything for this project was purchased from the dollar, except the Styrofoam wreath form.  The form is $ 9.99 @ Michael's, but I used a 40% off coupon.


Wrap the entire wreath form with black Electrical tape or black duct tape if you have it.  I have seen similar wreaths online that were wrapped in black fabric ribbon before adding the feathers.  The electrical tape made this super quick and easy.  It adheres instantly and is very flexible.  Plus it was one less item I had to purchase since I already had it on hand.

The boa is fastened onto the form with metal sewing pins.

Awesome tip: only partially wrap the boa's onto the wreath, leaving a long feather tail. Using the electrical tape, adhere the unsightly section of the wired roses onto the wreath then cover with the reaming boa.

Cost Breakdown: 
1 - Hall Rose Bqt Glit $ 1.25
3 - Feather Boa's $ 1.00 ea.
1 - Black Glitr Crow $ 1.25
1 - Styrofoam Wreath $ 6.00 (with the 40% discount)
Total: $11.50 before taxes

Ignore the glue gun, I didn't end up using it at all in this project.


Thanks to curlymade.blogspot.ca for the super fun hand drawn arrow jpg's, and dafont.com for the Buffied font.

Monday, 12 October 2015

Halloween Deco Mesh Wreath

I finally tried making a Deco Mesh wreath.  I can't believe how easy it was.  Hint, buy the right colour pipe-cleaners. I just used what was on hand.

Deco Mesh YouTube tutorial found here.


Very happy with the results, I may change up some of the elements at another time, but for now I am satisfied.  I have so much mesh left over it's ridiculous.  Anyone want a Halloween Decor Wreath?

Friday, 14 August 2015

Pallet Wood Pumpkins and Signage

Sorry, more pallet wood projects coming up.

I made these fun fall pumpkins - Summer 2013, but never shared them online.

I glued and nailed together strips of pallet the used a hand held jigsaw to cut a rough pumping shape.  Sand, paint, nail to a base and away you go. 


I cut the pumpkin stems from separate wood and glued onto my pumpkins, but have since seen online where they are part of the same pallet formed with the jigsaw.  If I make more of these I would follow that method, my stems keep breaking off.


I need to redo the bases with heavier wood too so they can with stand the wind in the fall.

And paint splatter in brown green cream and white, really made the pumpkin skin texture pop.

Adding spiders and faux spider webbing makes these guys last into Halloween too.
 

Thursday, 13 August 2015

October 2010 Wtich Candy Stand REPOST

This witch candy stand was originally posted on my previous blog Savory Stamping October 2010. 

Funnily enough I have now 2015 seen stuffed fabric legs at my local craft store, who knew I was a trend setter. I have seen them used on wreaths and sticking up from outdoor pots.

I saw a Trick or Treat stand at a local Fall craft fair, two years in a row. Both times I mentioned to my hubby that I could make one myself, I finally got around to it.

This is a GREAT Dollar Store project. Believe it or not it only cost me approximately $5.00 to make this Trick or Treat goody bowl stand. The majority of the parts I already had in my craft stash.


Original post found here.


The only items I purchased for this project are all from the Dollar Store: the candy bowl, the "Come In... " sign, the cat, the broom and the green craft paint. The green tutu was from my daughters dress up bin, but was originally purchased from the dollar store. She gave me permission to re-purpose this for my project.


The stand was built with 2x4's and spare wood. I had orange canvas type fabric on hand that I painted for the the boots and legs, which I then sewed together, and painted with Acrylic craft paint. 


*I wouldn't recommend making little swirly toes on the boots as I did - once sewn it was almost impossible to right side out the fabric and stuff them


The stand or base was painted black and then I made my own green crackle paint using Dollar store craft glue.  Find the crackle paint directions here from Dollar Store Crafts.com


AGAIN - This witch candy stand was originally posted on my previous blog Savory Stamping October 2010.