Showing posts with label DOLLAR STORE. Show all posts

Sunday, 23 October 2016

Nautical Baby Shower

See this post for free printable's used at this party.

People online are so clever. I combined some of my favorite online Nautical themed parties ideas together for my daughters Baby Shower.  Having seen so many images online, I was so glad my table turned out the way I envisioned it.
Table set up
Onsie's Clothes line
Water bottles

My husbands very favorite thing was the Fish & Chips, which I didn't a good photo of.
Similar to the catch of the day, but with ridge potato chips and goldfish (fish & chips)
Lifesaver cutlery and "Catch of the Day" party mix
Cookies favours and shower cake by - Cakes by Jen
Thank you cookies
Diaper Cake - the painted wood "painted shapes"are from Hobby Lobby
Tissue paper pom poms
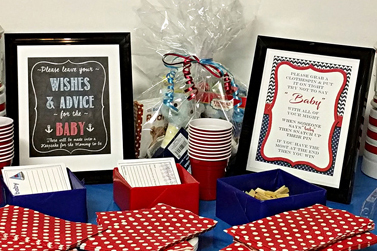
Wishes & advice cards, and game signage - I moved this to another corner during the shower.

Whale art - guest sign in
 Lighthouses: IKEA Rotara tea light lantern and upside down Kardemumma planter - I used red washi tape for the trim.  

We gave out black Rotara lanterns as the game prizes.
Goldfish crackers and pretzels in an apothecary jar
 The "Mom to Be"
Opening Gifts - oops we forgot to play Gift Bingo
My husband didn't leave his phone with me like I asked, so I have to wait for photos from family for the actual shower actvities.
 Wreath - I used 2  colours of Dollarstore faux "Jute" and twine, along with chipboard letters and a wooden anchor from Hobby Lobby.
Birch Boat
Tic Tac Thank You's
All my babies
Lovin' the family
Having fun with the "Guess that Poo" game
More wine?
 Aunties (above and below + 1 friend)

A whole lot of onsies 
 Great "Nana to be"

Friday, 5 August 2016

Upcycled Stair Rails / Spindles

What to do when gifted a large batch of wooden stair rails / spindles?

I think practically every one knows that I am a crazy craft nut, so much so that even my neighbours are on the look out for items for me to re-purpose.  My neighbour across the road is a contractor and was doing a porch rebuild.  He decided to salvage the porch rails that weren't rotting and thought of me to gift them too.  Holy cow, what a win fall.


Here is what I have made so far:

After pre-cutting the tops to stagger the heights of each stair rail, I drilled pilot holes in the bottoms and inserted Dollar store dowel rods.  The dowels are to hold the rails up in the soil.  Each house is of course acrylic clear coated, so are the dowels and the bottom of the rails to protect from moisture.
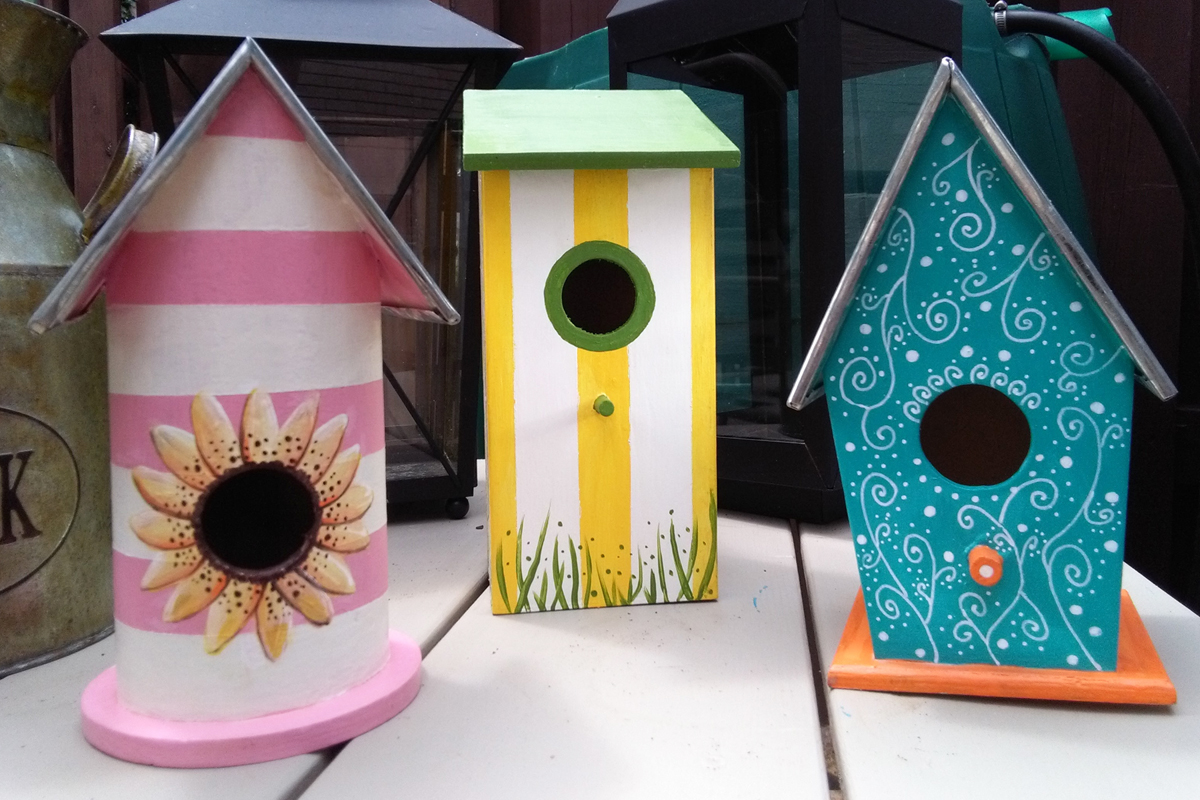
The birdhouses are from the Dollar Store.  My paint job is a whimsical homage to beach huts.

$20 Console Table

Another Spindle project the hubby and I worked on together is a console table for our hallway.
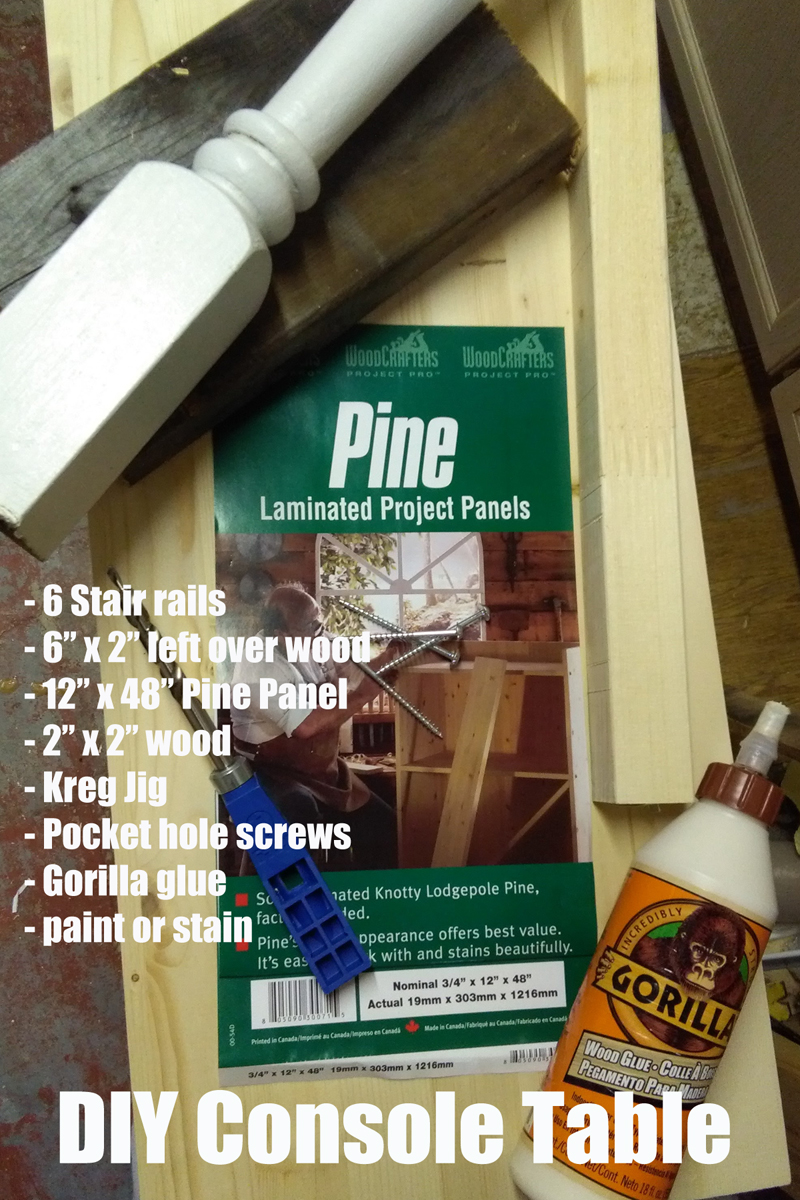
Material's:
6 stair rails
2 - 6" x 2" lumber cut to 11" long each (we used left over wood from our car port tear down)
12" x 48" pine project panel ($16.99 Homedepot.ca)
1 - 2" x 2" piece of lumber cut to 2 - 40" pieces ($2.99 Homedepot.ca)
Kreg Jig
2.5" pocket hole screws
Gorilla Glue
wood filler
paint and or stain
Assembly:
We removed 4" off each spindle so our assembled console height is 30".
Glue and screw in from the bottom each center spindle in the middle of each 11" 6 x 2.
Glue and screw each additional spindle in place.
Add the 40" skirting piece to the top of the spindle.  
We used the Kreg Jig to make pocket holes to attach these pieces.
Placing the table top surface on the floor, we marked out where the frame would be attached on the under side than flipped the project back over and drilled from the table top side down.

I have more projects planned, stay tuned.

Other Ideas Available on the Web:

Here are some of the cool upcycled possibilities using stair rails found on the web.  Any rails would work for most of these project, many are done using spindles from chairs or head boards. I think I want to do all of them.
Our Southern Home - beverage station (I so want to do this project)
Pinterest - Snowmen (I cannot find the originator of this image, only Pinterest links)
Follow Your Heart Woodworking - North Pole Decoration
Something Wonderful - Teacup bird feeders
My Re-purposed Life - Candle holders
HGTV - Coat Rack
My Love 2 Create - porch planter
DIY Show Off - Wooden Welcome Post
Lucy Desings - Dragon Flies & Butterflies
Pinterest - More ideas that have been pinned

Monday, 23 May 2016

Succulent Window Frame

I used a chopped down section of pallet wood added a bottom with drilled holes for thorough drainage and added a variety of succulents.  I know that the succulents will eventually fill in, just not sure how quickly.  Thew window is the old basement bathroom window from our house that I saved from last fall when all our windows were replaced.  My hubby busted out the glass and I stapled Dollar Store chicken wire to the backside.
I stenciled "Le Jardin Heureux" the happy garden on the the front and voila, a cute lilttle window box that I hopefully can't kill.

Sunday, 20 March 2016

Boo Decor


Michael's Craft store has burlap covered canvases on sale this past weekend.  Using my b-day gift card (thanks Hubby and kids), I bought one for Boo's room.  Using SCAL, I mocked up an inspirational quoted and then painted it onto the canvas using the vinyl as template.
I did brush the lettering with ModPodge and let it dry before painting the stencil letters.  It did help my letter turn out crisper with less bleeding.  It was perfect though.  I had to mix some canvas coloured paint for some minor touch-ups.  All and all though I would recommend using Modge Podge first.

Michael's also had news print covered canvases out.  I didn't buy any, but it did inspire the cat silhouette.  I bought the wood hanging boards/frames from the Dollarstore.  I thought the bird chipboards would be easy to pull off - NOPE.  So I removed the hanging screws to reverse the board to use the backsides.


 The bird die cut was from an XMas gift card I received and put aside.


Sunday, 6 December 2015

I'm Dreaming of a CHEAP Christmas!

Let's Do Christmas on the Cheap, shall we.  

I decided I wanted to change up some of my Christmas decor, so I bagged up any "countrified" decorations and sent them away to a good home.  Since we are in the midst of some kitchen renovating, I can't quite justify replacing things THIS year.  Here's how I filled in some of the gaps of my decor, but on a dime.


Wrapping paper art:  I wrapped my large canvas art in Dollar Store paper and glitter ribbon.  I can't take credit for this project, I saw it online.  That person must have shopped at the Dollar Store too, I found the same paper there.


Rolled wrapping paper tree cones.  These can be seen all over the Internet.  You can cover styrofoam forms with fabric, or do it the CHEAP way like I did.  I made a cone out of cardboard then covered it in... you guessed it Dollar Store wrapping paper.  Here is a good cone tree making tutorial @ Sand & Sisal.com.


BTW, did you notice I flipped my pallet wood shelving?  It holds things better this way.  I added some drawer pulls that were saved from my daughter's old IKEA dresser that fell apart.  The dresser went in the trash, and the pulls have become part of the decor.  I REALLY prefer the look of the shelf this way.


I painted the pants of the Nutcracker seen here to make it fit the colour scheme better.  I have a few larger Nutcrackers (*insert joke here) that still need to be painted, and one that I am making a new felt cape for.  


I filled a shadow box frame I already had on hand with Dollar Store Christmas baubles, (snowflakes, jingle bells, and pom poms).  Glued some scapbook paper to the backing and cut out a slogan in vinyl. You can purchase pre-cut vinyl lettering at your local Staples store if you don't have a cutting machine.  A tutorial to make a holiday shadowbox frame can be found @ To Simple to Inspire.com.


I threw together some "scrap" scrapbooking paper and coordinating stickers to use with my "new" holiday clipboards.  I bought it on sale at Michael's for 60% off, OKAY, so I'm not perfect and bought something ;D


I have one other inexpensive project in the works, but with sanding and painting the kitchen cabinets this weekend, I ran out of time and steam.