Showing posts with label DECOR. Show all posts

Monday, 12 November 2018

Bureau Beef Up

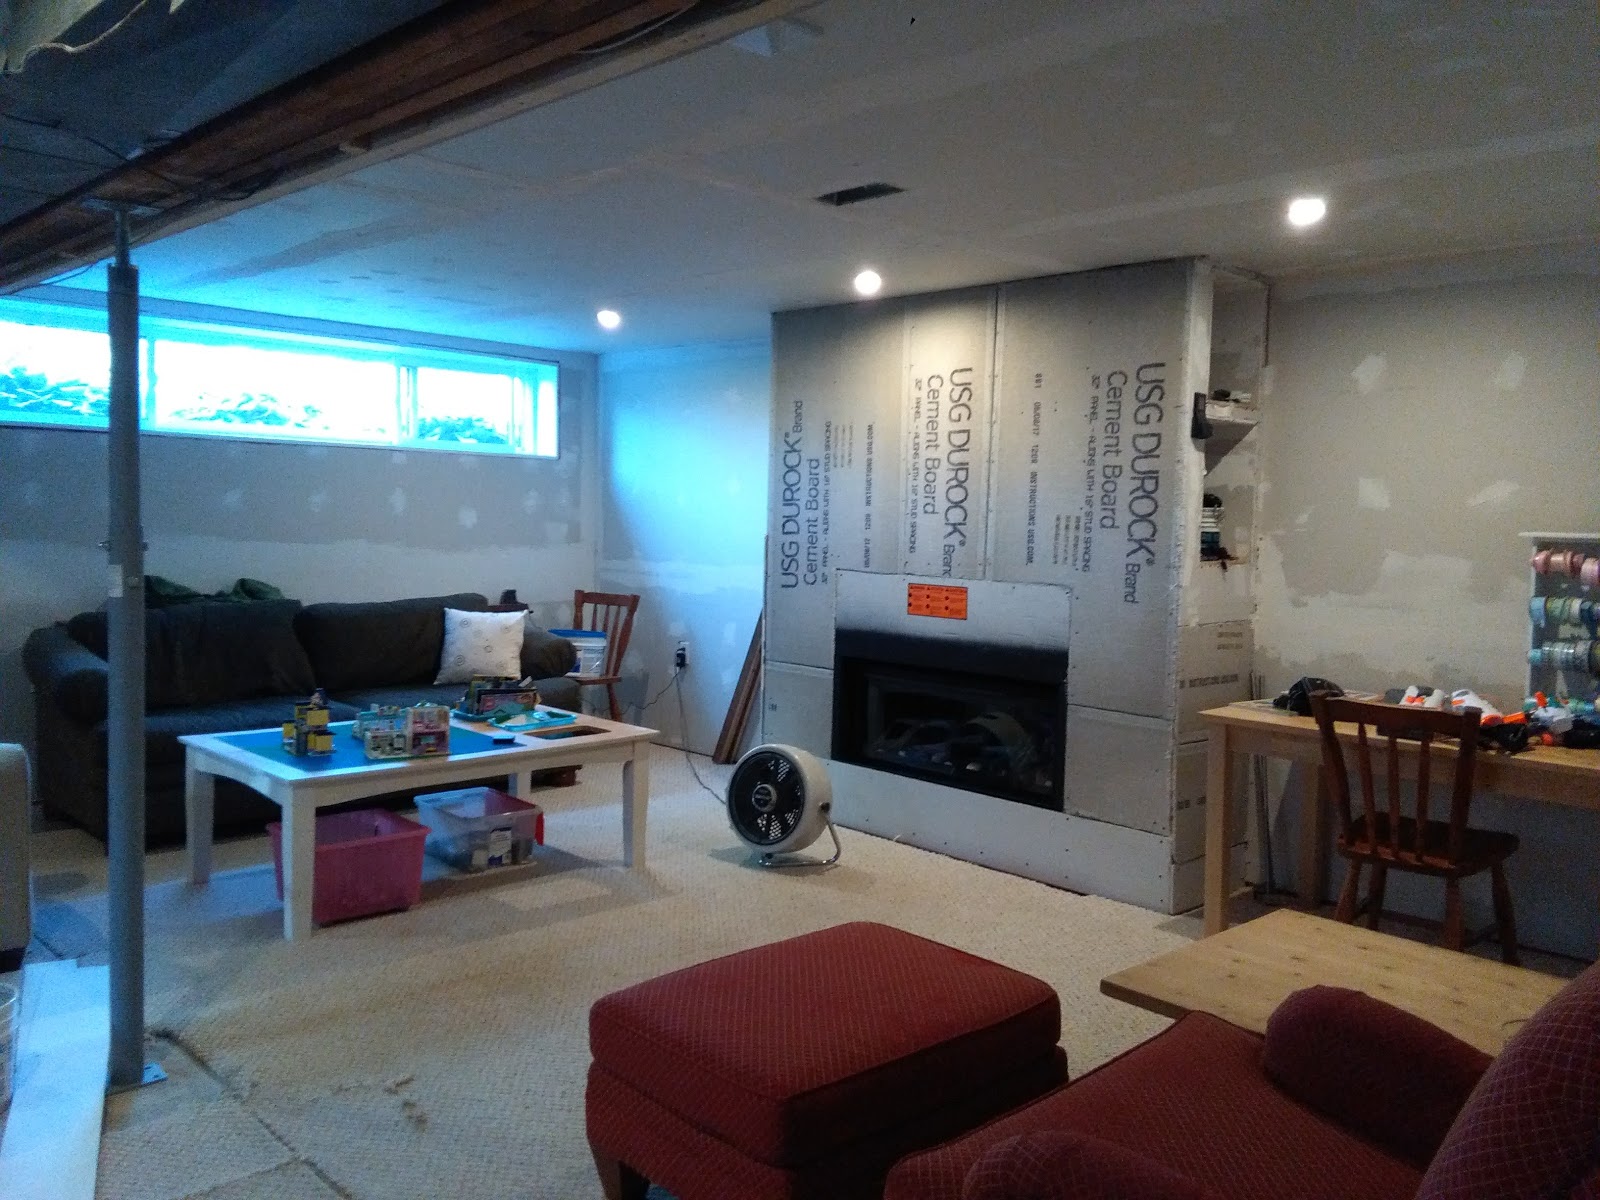
About 10 years ago Sean and I bought a Birch Kallax bookcase for storing the kid's Toddler toys in.  Not wanting to break the bank we repurposed it for the basement and bought another for the other side of the new fireplace.  At least until we could find ones at HomeSense or Wayfair etc.  We wanted something Industrial feeling.

We've been looking at cabinets on and off, but everything is so expensive, and we need two of them.  Winners had a pretty amazing one at for $700.00.  $1,400 for two, NO THANKS!
Instead we beefed up the existing IKEA Kallax book shelves instead.  I'm not disappointed at all, it looks pretty cool.  Definitely less feminine than the original


Sunday, 2 September 2018

Bathroom Signage

So it's been a while.  I think the house renovations, starting with Boo's room and closet have eaten up all my crafting mojo.  As well, my crafting room is now housing my 1 million and 1 IKEA kitchen boxes.  I can't even so much as open a cupboard in there.
I had a friend who recently repainted her kids bathroom and requested a sign.  I had planned differently lettering, but since my craft room is clogged up, I could 't get to the old machine that I use Sure Cuts A Lot on, so I had to resort to using a Cricut cartridge.

I wanted to add Enter at own Risk along the bottom, but my friend didn't want that.
This pre-made distressed wood sign was $7.00 at Michael's using a 50% coupon.  So quick when you don't have to assemble anything or distress it yourself.
I cut out the vinyl template using my Don Juan cartridge.  I read a tip online eons ago that to help the lettering remain crisp when painting, to Modge Podge over the template first.  I can say 100% DO THIS.  It really works.
So here is the IKEA mock up of our kitchen.  We have moved appliances around so we can have more counter space.
The stove was on the other wall, by moving it that whole space can now be counter top.
And here is our mock up for the basement bathroom.  We aren't doing it through IKEA, but I used the free online IKEA planning program to play around with it.
We went back and fourth about tiling a bathroom stall vs a prefab stall.  Since we have seriously hard water and it's meant to be the kids bathroom, we have decided to do a prefab that looks like it's tiled.  We aren't settled on the exact one, but I did see one at Lowes that is faux Carrara tile.

Thursday, 1 February 2018

Cool LIght

I found a cool metal light shade for the Boys new room, but had to come up with a cheaper solution.  Design inspiration below.
I found similar direction from Vintagerevivals
I glued pieces of 1x1 spare lumber to make a 11.5" cube.
The hubby helped me staple the end together while the glue dried.  We didn't have clamps that were long enough.  Once the glue was dried, I filled the holes and imperfections, sanded then painted it with black acrylic paint.
 
We had the IKEA pendant light left over from when this was Boo's room.  We have since switched out the boring lightbulb for a cool retro Edison style light bulb: see above with the installed shade images

Other than the light bulb, this project was free.  I used all spare lumber and we already had the pendant.

Monday, 25 December 2017

Super Hero Christmas - click image to read more

Here we have the finished shelf configuration

The hubby and I weren't supposed to be buying "big gifts" for each other this year because of the basement reno and our new sectional, so I HAD TO GET CREATIVE.
These images are before we finished all the shelves.  Sticking with the Super Hero theme (predominately Spiderman), I made some themed decor items for the basement.  I wanted to have some items that are't immediately obvious that they are Spiderman, here's my brainstorm:
Camera pillow - Spiderman was a newspaper photographer.
Camera blueprint image,  I bought this for $3.00 on Etsy and used a Dollar store frame.  I purchased the fan clock from Homesense, it was the kids gift to Daddy.  I love the look of the industrial or old fashioned rotary fan turned into a clock.
Power quote print - quote from Spiderman's Uncle Ben (originally Voltaire).  I made it in Photoshop, I did "case" it however, it was someone elses idea I saw online.
The microscope, my most favorite find.  Since I work in a High School, I asked the Head of the Science Department if she had any broken microscopes she would be willing to sell.  To buy them on Etsy, you are looking at $40 -$60 for just the shipping.  Luckily she did, so I bought one for $20 and no shipping.

The "S" was already featured in a previous post, I think with my 40% off coupon the canvas and silver paint was under $10.00.
Sean was kind enough to pick up some IKEA fake plants when he was there to purchase Boo's new Queen bed.  We already had the pots from the Baby Shower lighthouses from last year.  The "I love you more than bacon" was a Christmas present from the kids to my hubby from quite a few years back.
This DNA blueprint image is available through Etsy for $11.00-$12.00.  However, I found the DNA vector on line for free.  It's a free downloadable colouring page for Science class.  I downloaded the image and in Photoshop transferred it onto a free vintage paper background.  Again used a Dollarstore frame.

Camera Pilow - Click on image for more details

The image was a google search "camera clip art"

Decor on the cheap.  I had this fabric gifted to me from my mother in law, I think it was from a "shy baby" kit.  The pillow form I stole from my bedroom pillows, which to tell the truth are always stuffed in the closet except once and a while when I have company. LOL

I created this Camera pillowcase cover using the Liquid Medium and Acrylic paint technique found in this previous post of mine.

Originally I was going to try making a DIY fabric transfer using wax paper.  You have to flip the image for this technique.  Needless to say it did't work, because I only had parchment paper.  So I decided, what the hey, I'll just paint it.  Not until I was half way done painting did it occur to me that I forgot to undo the image flip, so anyone familiar with camera's will catch that this camera is backwards... oops.  LOL

I used equal parts acrylic paint with transparent liquid medium.
I cut out the regular photocopy or printed image with a craft knife and traced onto the fabric.  I just used a regular sheet of 8.5 x 11 printer paper.
I left a bit of the focus lens mount dial and the glass lens attached to the body of the camera so that I didn't lose the placement in the image then connected the lines in the drawn image.  I pinned my fabric to a sheet of wax paper so that the paint wouldn't soak through to my work surface.
I painted the pencil image using medium/acrylic mix.  Then let dry.

The fine lines I did with one of Boo's fabric markers.  I am not sure how well the the markers will wash.  I imagine you could also use a Sharpie marker.  Once dry, I went over all of it with an iron set to medium.


Envelope pillow case cover tutorial found here @ Instructables.com

DIY fabric paint tutorial here @ Instructables.com

Wednesday, 13 December 2017

Basement Before and After - Click on Image to see more

Okay okay, so our basement renovation has been a long time coming, it's why we bought the house 10 years ago.

Fall 2016 (Before)
During...
During... (hurray, bye-bye cinder block support)
After (X-Mas 2017)
The hubby has to finish the bricking the fireplace sides paint the beam and the floor.  We have some shelving projects planned for the New Year.  Soooo close to being done.  Hubby done good!

Monday, 11 December 2017

Faux Metalic Letter - Click image to read whole post

I wanted to get my hubby a metallic riveted alphabet letter for his man cave, similar to the one from my son's room, but couldn't find one.
What's a girl to do? Maker her own!
I bought a canvas letter form from Michael's using my 40% off coupon and bought a bottle of silver craft paint.  Everything else I already had on hand.
  • Craft alphabet letter form
  • Silver craft paint
  • Burnt umber craft paint
  • Pearl stickers (metal push brads would work too)
  • Craft glue (I used Ranger Glossy Accents)
1.  Glue sticker pearls in place of rivets, let dry.
2.  Paint everything silver & let dry.


3.  Using burnt umber to dirty up the silver, adding more where dirt and rust are most likely to collect.  Using a clean wet paint brush and drag down from rivets while the burnt umber is still wet for rusty water marks/drips.


Monday, 15 May 2017

Designing for the Boy

We finally got around to painting the Boys room,  his only request was that hey wanted one navy blue wall.  I picked up a swatch from Benjamin Moore and he chose Newbury Port Blue.  The surrounding walls are Revere Pewter (we had left over from doing the hallway).

Notice the skateboard shelves, and Buddy's newly painted IKEA TARVA night stand.  We used a LEGO tire tread around the drawer knob. 
Grandma and Grandpa bought him a new bedside lamp, but we weren't able to go up on Easter to pick it up - he picked that out too from Target.com.
I think it turned out fantastic.  He did a great job picking the colour.  The cool numeral canvas I found at HomeSense for $22.00, what a steal.
We are thinking of building a floating desk below the kite.  Maybe if we have some barn boards left over from Sean's desk project?

Thursday, 27 October 2016

Halloween Bliss

My sister was asking about my Halloween decorations while at the baby shower.  She thought all my Fall things were Halloween.  This post is for her.

I almost didn't get my Halloween stuff out this year due to the shower.  I was over decorating, but I CAN'T miss Halloween.  Here's what I rushed out on Tuesday.

Console Table
 Console close up
 Wall shelf
Wall shelf close up
Fireplace
Side table
Side shelf

Witch wreath