Wednesday, 12 October 2016

Basement Burlap

We are such construction procrastinators.  Some of our basement ceiling was demolished a LONG while back and we never got around to finishing  it.  Since we are hosting a baby shower downstairs in a few weeks.  I came up with the idea of covering the ceiling with burlap and twinkling lights.   If you Google burlap wedding, you'll see all kinds of tents and such done up with burlap and swag.
We didn't have enough lights for both sides of the main area, so we used our outdoor patio lights for the area near Sean's desk. It's very romantic down there.
We do plan on finishing the ceiling this winter, this at least makes it a little more acceptable for the baby shower, however.

This is the ceiling before, we had track ceiling over top of dry wall ??? Why?


Sunday, 25 September 2016

IKEA - KRUSNING Hanging Paper Lampshade

How to Dye an KRUSNING Paper Lampshade

Boo picked out a $20 Krusning hanging paper lampshade from IKEA for her room.  It only comes in a slightly off white colour.  We decided to try dying it to match her decor.
We started by disassembling the lampshade by removing the plastic circular centre ring.  A screw driver was required to pop it apart.
In a large spray bottle I mixed food colouring, acrylic paint and water until I had the right colour for the finished shade.  Hanging the individual paper sheets from a laundry line in our basement, I saturated each side of the seven paper sheets and let them air dry.  Be prepared, it does leave a mess on your basement floor.
Once dry,  we reassemble the sheets and snapped the ring back in place.  Following the assembly directions that came with the lampshade and we now a beautiful have a cute colour matched lampshade.
Sean says it make the bedroom feel like an underwater Grotto at night.

Saturday, 3 September 2016

Free Whales & Waves Printables

FREE PRINTABLE Whales and Waves Wall Art

Olivia picked out her baby bedding from Target - Circo Whales and Waves, which I purchased from Amazon.ca.  The whales read as yellow in the Target photo, but they are actually light lime green.  
I Photoshoped some printables to match the Whales and Waves bedding ensemble. 

Designed for 8x10 frames - Click on the link to download free printable's


The images are free clipart found online.  

Free Digital Paper:


Friday, 19 August 2016

Painted Panda Canvas

Mom and Daughter Art Project

Boo and I were inspired by some canvas art for sale at our local Homesense (similar to Homegoods in the US).
Boo's favourite animals are Giant Panda, so we had to use our local Zoo's panda cubs. We used an image of 9 month old Jia PanPan and Jia YueYue.  Their names translate to Canadian Hope and Canadian Joy.

Here is our tutorial:

In Photoshop I removed the background from the origianl Panda cub image.  The image is from an online media website.

Below is our first printed attempt.  The image wasn't large enough on 3 sheets so I cropped them into 6 sheets of legal size paper instead. 
Printing Instructions:
I inserted the image into MS Word choosing "legal" paper size in the Page Layout tab and landscape orientation. I re-sized and cropped the image allowing for some image overlap and saved it into 6 files.  Then printed each segment onto legal paper on a black and white laser printer.
Using scissors we trimmed the printed panda sheets, matched up the segments then taped it together on the back side using minimal amounts of masking tape.  

3 sheets of patterned scrapbook paper fit perfectly across the canvas allowing for a bit of overlap.  

To prevent the scrapbook paper colour accidnetly bleeding through the panda image once glued, we traced then cut out the panda outline on the scrapbook paper before gluing it onto the canvas.  We used Mod Podge adhesive (Tip: less paper curling happens if the Mod Podge is added to the canvas not the paper - once dry the bubbles will recess.)
We did not add Mod Podge overtop of the glued and dried Panda image as per the Mod Podge instructions.  Instead we painted a layer of Liquitex Clear Gesso to seal and add structural integrity to the laser printed paper.  

We also added some additional scrapbook remnants to make the cubs look as if they are leaning over the painted Magnta banner.
Start painting in layers working from the outside of the body inward.  The paint stroke direction is the opposite, from the body outward. 

Feather Stroke: lighten up on the brush pressure in an outward motion, the paint stroke will strart thicker and 

Let each layer dry before moving on the next layer or colour in the gradiation. Overlap each layer slightly using a feathering stroke (lighten up on the brush pressure in an outward motion).
Panda Close Up
The bamboo image is from The Craft Chop - tree frame that I cropped in Sure Cuts A Lot.

Friday, 5 August 2016

Upcycled Stair Rails / Spindles

What to do when gifted a large batch of wooden stair rails / spindles?

I think practically every one knows that I am a crazy craft nut, so much so that even my neighbours are on the look out for items for me to re-purpose.  My neighbour across the road is a contractor and was doing a porch rebuild.  He decided to salvage the porch rails that weren't rotting and thought of me to gift them too.  Holy cow, what a win fall.


Here is what I have made so far:

After pre-cutting the tops to stagger the heights of each stair rail, I drilled pilot holes in the bottoms and inserted Dollar store dowel rods.  The dowels are to hold the rails up in the soil.  Each house is of course acrylic clear coated, so are the dowels and the bottom of the rails to protect from moisture.
The birdhouses are from the Dollar Store.  My paint job is a whimsical homage to beach huts.

$20 Console Table

Another Spindle project the hubby and I worked on together is a console table for our hallway.
Material's:
6 stair rails
2 - 6" x 2" lumber cut to 11" long each (we used left over wood from our car port tear down)
12" x 48" pine project panel ($16.99 Homedepot.ca)
1 - 2" x 2" piece of lumber cut to 2 - 40" pieces ($2.99 Homedepot.ca)
Kreg Jig
2.5" pocket hole screws
Gorilla Glue
wood filler
paint and or stain
Assembly:
We removed 4" off each spindle so our assembled console height is 30".
Glue and screw in from the bottom each center spindle in the middle of each 11" 6 x 2.
Glue and screw each additional spindle in place.
Add the 40" skirting piece to the top of the spindle.  
We used the Kreg Jig to make pocket holes to attach these pieces.
Placing the table top surface on the floor, we marked out where the frame would be attached on the under side than flipped the project back over and drilled from the table top side down.

I have more projects planned, stay tuned.

Other Ideas Available on the Web:

Here are some of the cool upcycled possibilities using stair rails found on the web.  Any rails would work for most of these project, many are done using spindles from chairs or head boards. I think I want to do all of them.
Our Southern Home - beverage station (I so want to do this project)
Pinterest - Snowmen (I cannot find the originator of this image, only Pinterest links)
Follow Your Heart Woodworking - North Pole Decoration
Something Wonderful - Teacup bird feeders
My Re-purposed Life - Candle holders
HGTV - Coat Rack
My Love 2 Create - porch planter
DIY Show Off - Wooden Welcome Post
Lucy Desings - Dragon Flies & Butterflies
Pinterest - More ideas that have been pinned

Monday, 11 July 2016

Kitchen Redo

Kitchen Redo

This has been a true labour of love.  It has taken a long time, but it's mostly done.  
The peninsula and wall were too narrow to allow for a normal sized table & chairs set
The horrible orange paint had to be scrapped off.  We think they painted oil over latex or vice versa, two layers of paint came off.
Check out the lovely counter tops
After
Look at the ceiling, no more bulk head HURRAY! Sorry my phone photos aren't the best
Removed the peninsula counter and upper cabinets / added chalkboard
Painted the lower cabinets dark grey - the walls are Revere Pewter
Added banquet seating and new porcelain tile floors
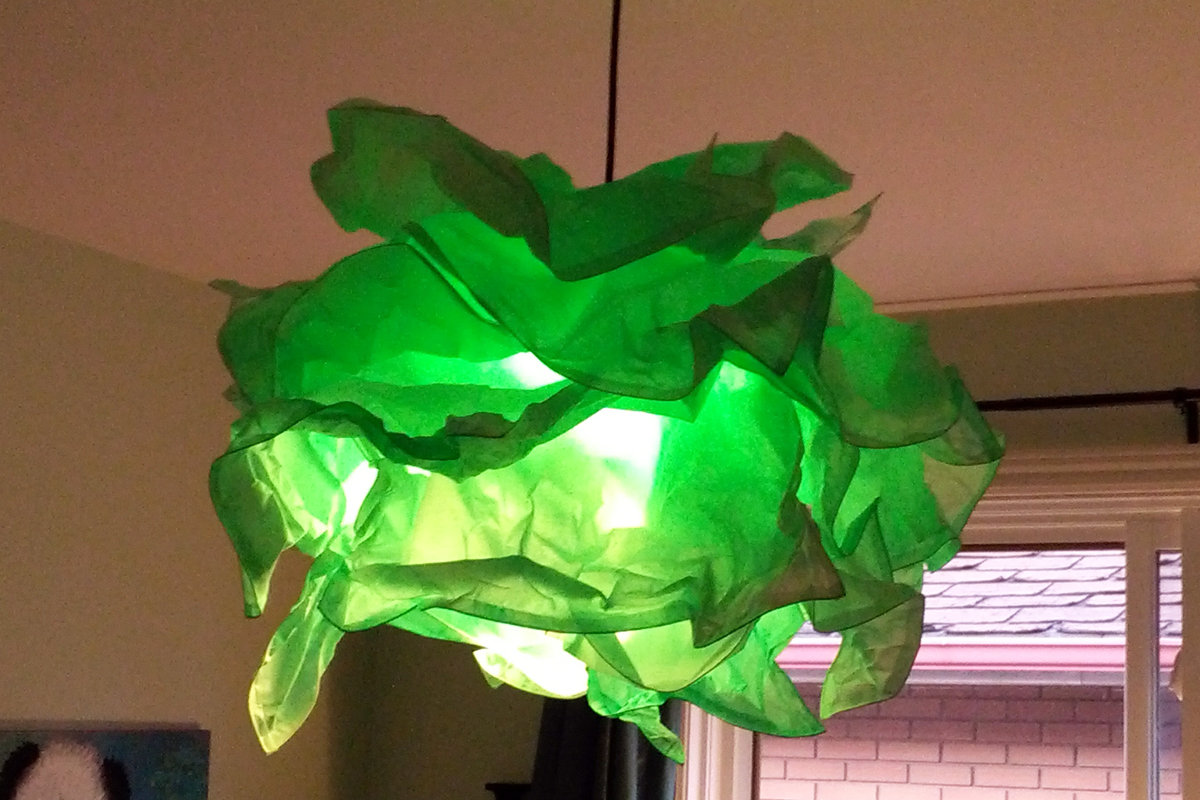
Can't wait to switch out the lighting.  I want to remove the small cabinets above the stove and install a similar vent as shown below (I can't reach those uppers any way)

Monday, 27 June 2016

Hobby Lobby Goodness

For you lucky Americans, you're probably very familiar with the magnificence that is Hobby Lobby.  Being Canadian, I have never been.  When we visit relatives in the U.S we generally don't do any shopping there except on Sundays and alas, Hobby Lobby is not open on Sundays.  Although I have wistfully looked in the windows while my hubby and kids peruse the adjacent open comic book store.  This past weekend while visiting Michigan for my dad's birthday, we finally made a Saturday shopping excursion and at last beheld my desired eternal resting spot - Hobby Lobby.  

I can't believe all the amazing decor and craft items they have.  I nearly cried in the Halloween aisle, honest, ask Sean. We are definitely going back each and every time we visit.  I can't wait to see the Christmas decor, they were just starting those displays so I wasn't able to get a peek yet. Remember I cleaned out my Christmas stock last year so I need a few Hobby Lobby visits to round things out, and I have promised my dad we'll visit more often.   Tee hee, of course we will.

For you Canadians who have never Hobby Lobby'd, think Homesense & Winners meets Michael's, but bigger, much much bigger.
Anyway, I couldn't decided what to buy, I was too overwhelmed with the choice.  Fortunately one item stayed on my mind and we went back a few hours later with a 40% off coupon in hand - thanks to my stepmom.
Just love this metal birds on a wire frame.  I had planned on using it on my fence as patio decor, but decided it needed to be somewhere more prominent.
Thankfully the hubby didn't have to drill any new screw holes.  I remembered the brass brick clips from my Christmas garland project.  The key holes on the frame fit perfectly onto the clip hooks.
 
Borrowed clip hook images (above).  Borrowed key hole image (below)

Brick Clip Hooks - Lee Valley - carries clips for larger brick heights